Redisage Configurator Virtual COM Mode
RemoteCOM (C20 - C25)
This article presents a simple instruction of a first connection between a virtual COM port and a RS232/485 device through the RemoteCOM and the Redisage Configurator app. Redisage Configurator is used to emulate connection between converter and a PC as if its RS232/RS485 ports would be connected directly to the COM port. The advantage of that functionality is lack of additional cables. Redisage Configurator can be installed on Windows machine and requires the Redisage VSP Driver to work (it can be installed with RedisageVSPDriver.Installer).
In order to perform a setup, connect the RemoteCOM according to the diagram below (RemoteCOM should be connected via Ethernet to the same local network as the PC).

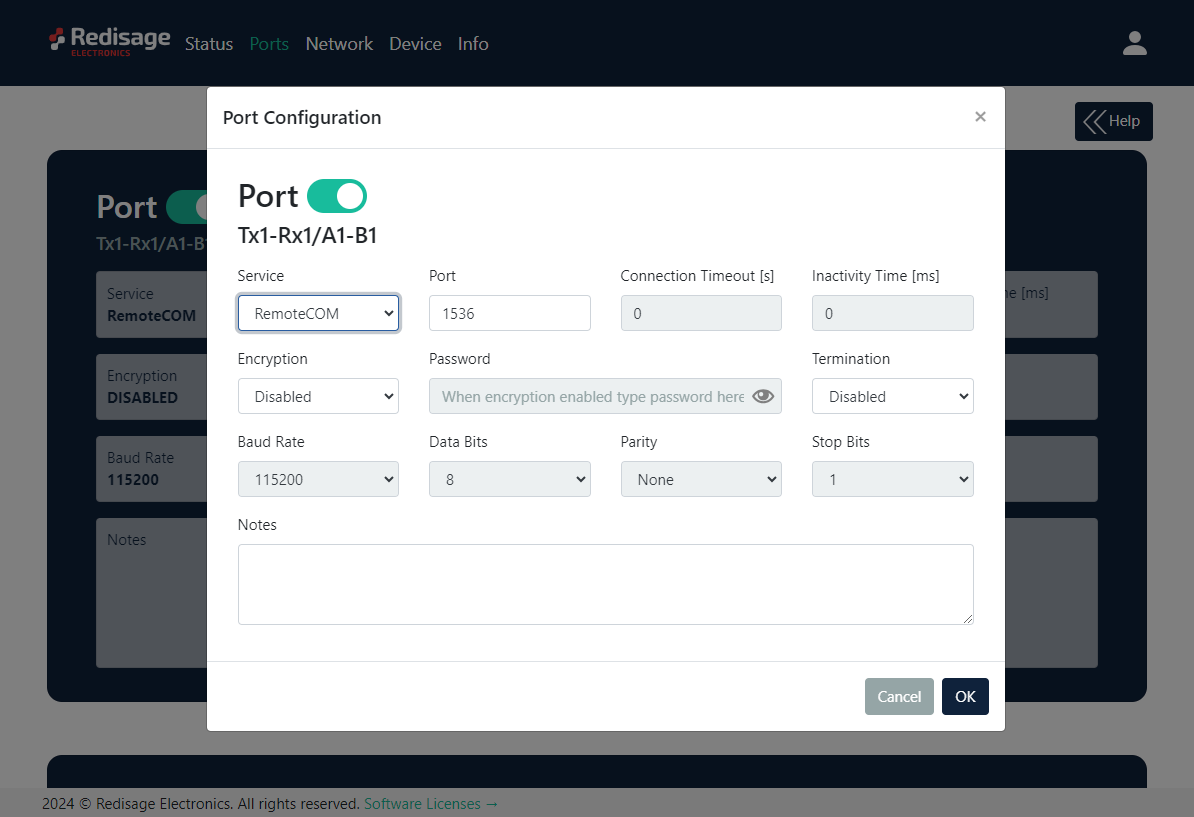
Then, it is necessary to configure the RemoteCOM’s ports. It can be done, for example, via the device’s web page. Ports' configuration can be also done via Telnet, serial or service console. Set the “RemoteCOM” option in the “Service” field on the “Port” page. Check also if the port number is set correctly in the “Port” field. Additionally, encryption can be set to increase the security (it will also require to set up a password).
Next, open the Redisage Configurator and click the “Add Device…” button. Available RemoteCOM’s ports should appear on the list. Choose the desired one and click the “Add” button.
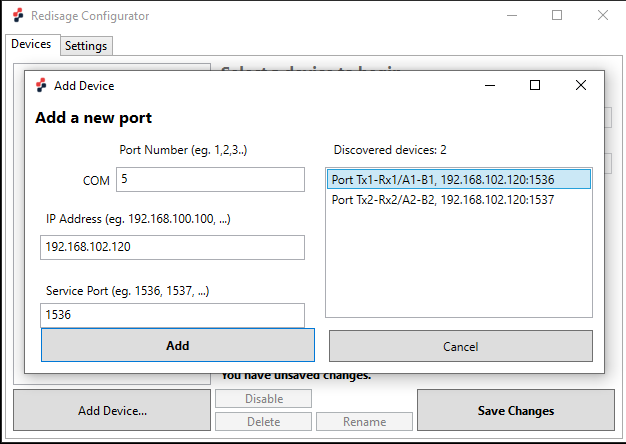
If a discovered device cannot be added, check if it hadn’t been added before with a different COM port / service port. In that case, delete previous configuration from the Redisage Configurator.
If that won’t work, check if the port service was configured correctly for the RemoteCOM Service.
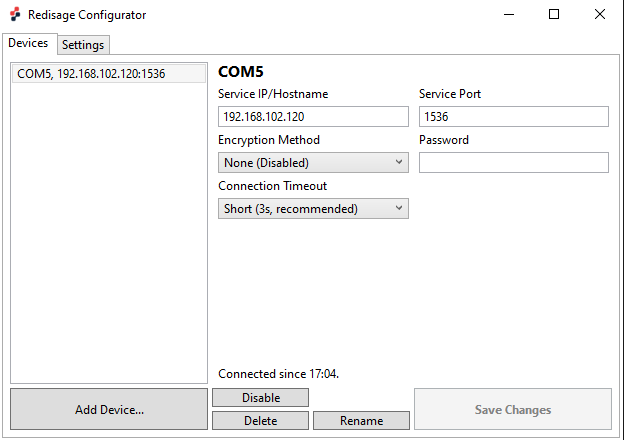
Enable the virtual COM port with the “Save changes” button. If a password was set during the configuration, it will be necessary to type it into the “Password” field.
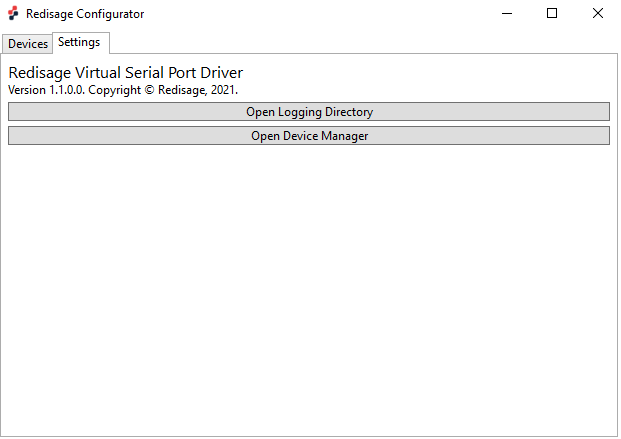
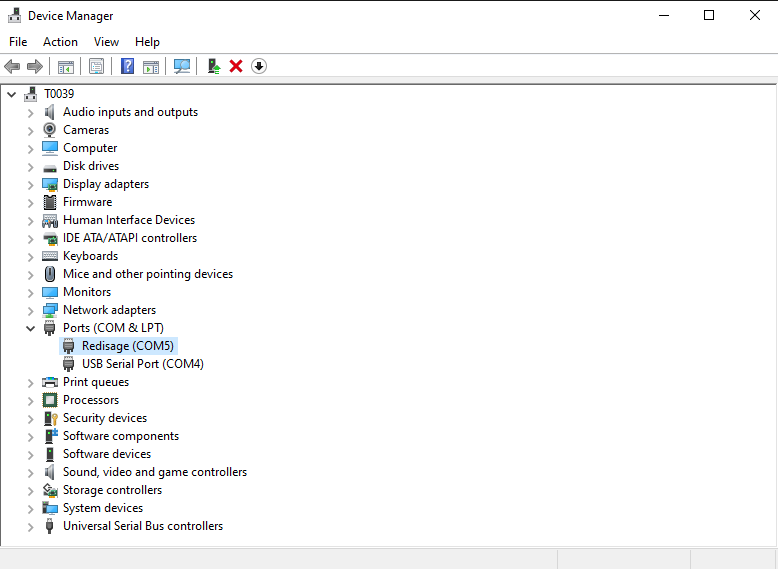
Now, the device should be ready to work. The bidirectional communication should be available from the start. It is possible to check if created virtual COM port is present in the system. Just go to the “Settings” page and choose “Open Device Manager” button. There should be a “Redisage” COM visible.
Test connection
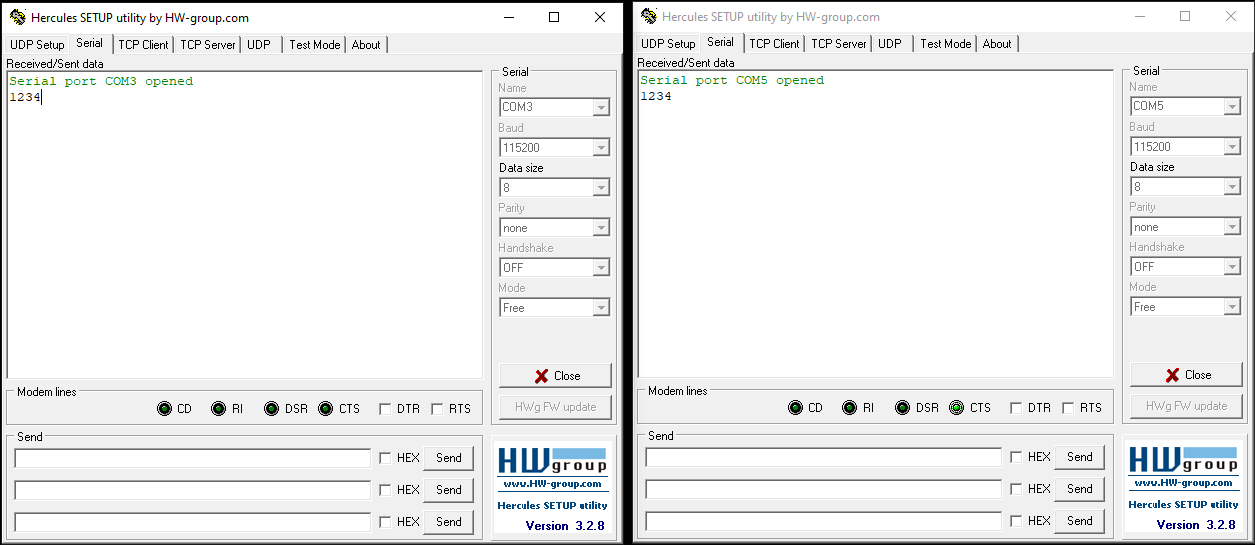
Connection can be easily tested with a USB-RS232/485 converter and Hercules Setup Utility software. Connect the RemoteCOM’s RS232/485 port to the USB-RS232/485 converter and plug it in to a USB port of a PC. Open 2 instances of Hercules Setup Utility program and go to the “Serial” page of the first one. Set serial connection options according to the previous RemoteCOM’s ports configuration and open the COM port (fixed options: Baud Rate 115200; Data Bits: 8; Parity: None; Stop Bits: 1).
Then, go to the “Serial” page of the second Hercules instance and set the virtual COM port in the same way as the serial port of the first Hercules instance. After a successful connection, there should be the bidirectional communication available.
While changing port service back from RemoteCOM to TCP/UDP Socket make sure to disable RemoteCOM virtual port in the Redisage Configurator first.