UDP Socket Mode
Serial Port Server (C20 - C25)
This article presents a simple instruction of a first connection between a UDP client and a RS232/485 device through the RemoteCOM. Firstly, connect the RemoteCOM according to the diagram below.

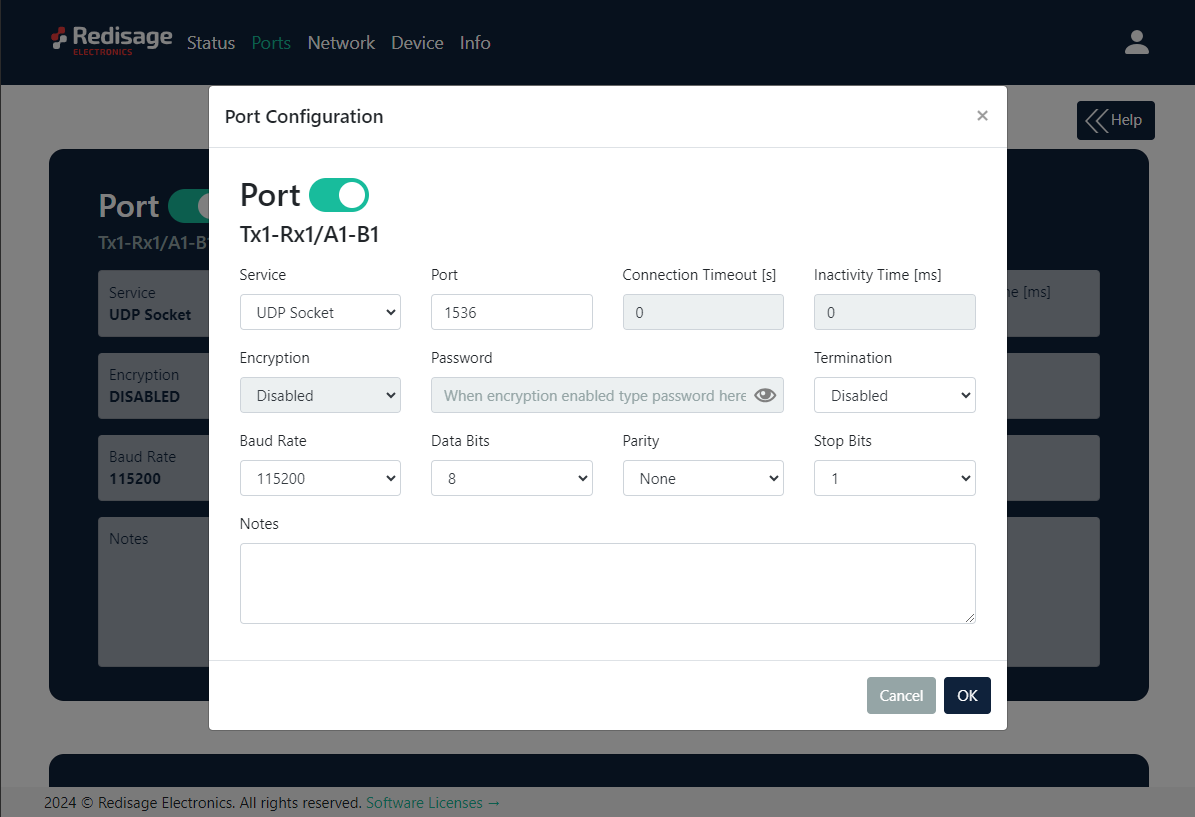
Then, it is necessary to configure the RemoteCOM’s ports. It can be done, for example, via the device’s web page. Ports' configuration can be also done via the Telnet, serial or service console. Set the “UDP Socket” option in the “Service” field on the “Port” page. Check also if the port number is set correctly in the “Port” field. Set desired options of the RS232/485 connection (“Baud Rate”, “Data Bits”, “Parity”, “Stop Bits” - these options should be the same as in the RS232/485 device).
Now, the device should be ready to work. The bidirectional communication should be available after the device receiving a first message from the UDP client. Before that happens, all of the data sent from the device to the UDP client will be buffered and sent later.
Test connection
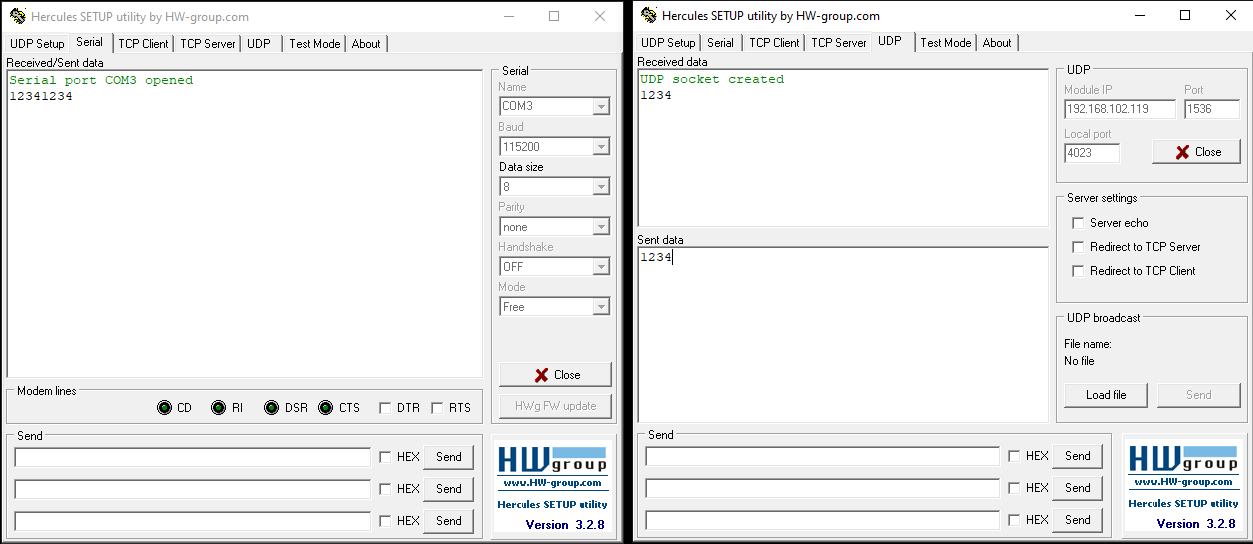
Connection can be easily tested with a USB-RS232/485 converter and Hercules Setup Utility software. Connect the RemoteCOM’s RS232/485 port to the USB-RS232/485 converter and plug it in to a USB port of a PC. Open Hercules Setup Utility program and go to the “Serial” page. Set serial connection options according to the previous RemoteCOM’s ports configuration and open the COM port. Then, go to the “UDP” page and set the device’s IP address and port. The bidirectional communication should be available after the device receiving a first message from the UDP client. Before that happens, all of the data sent from the device to the UDP client will be buffered and sent later.