Programming
ESP32 Open IoT and IIoT Gateways (P01 & P02)
Install IDE
Please, follow the instructions located here to install the ESP-IDF framework on your local machine. ESP-IDF is available both on Windows and Linux. It can also be installed through some popular IDEs: VS Code or Eclipse.
ESP-IDF is required to build the examples written in C for the device. However, the it can be also programmed in MicroPython.
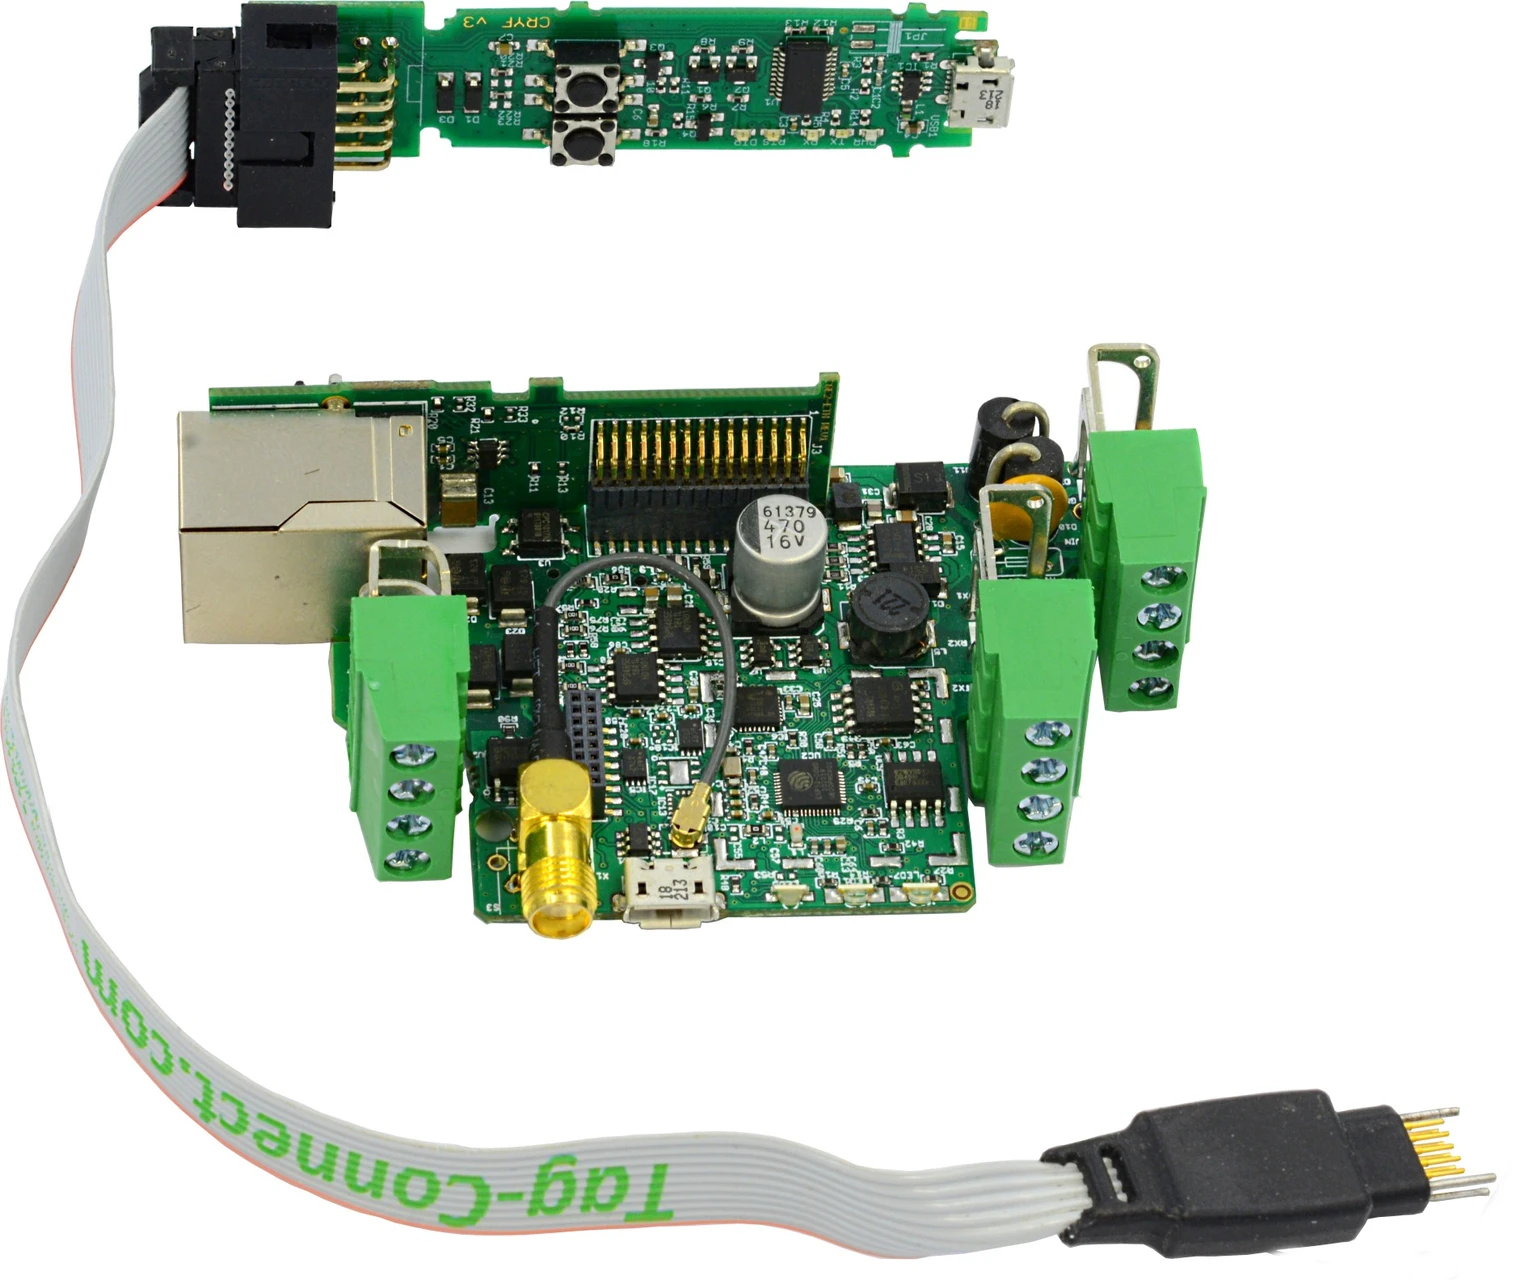
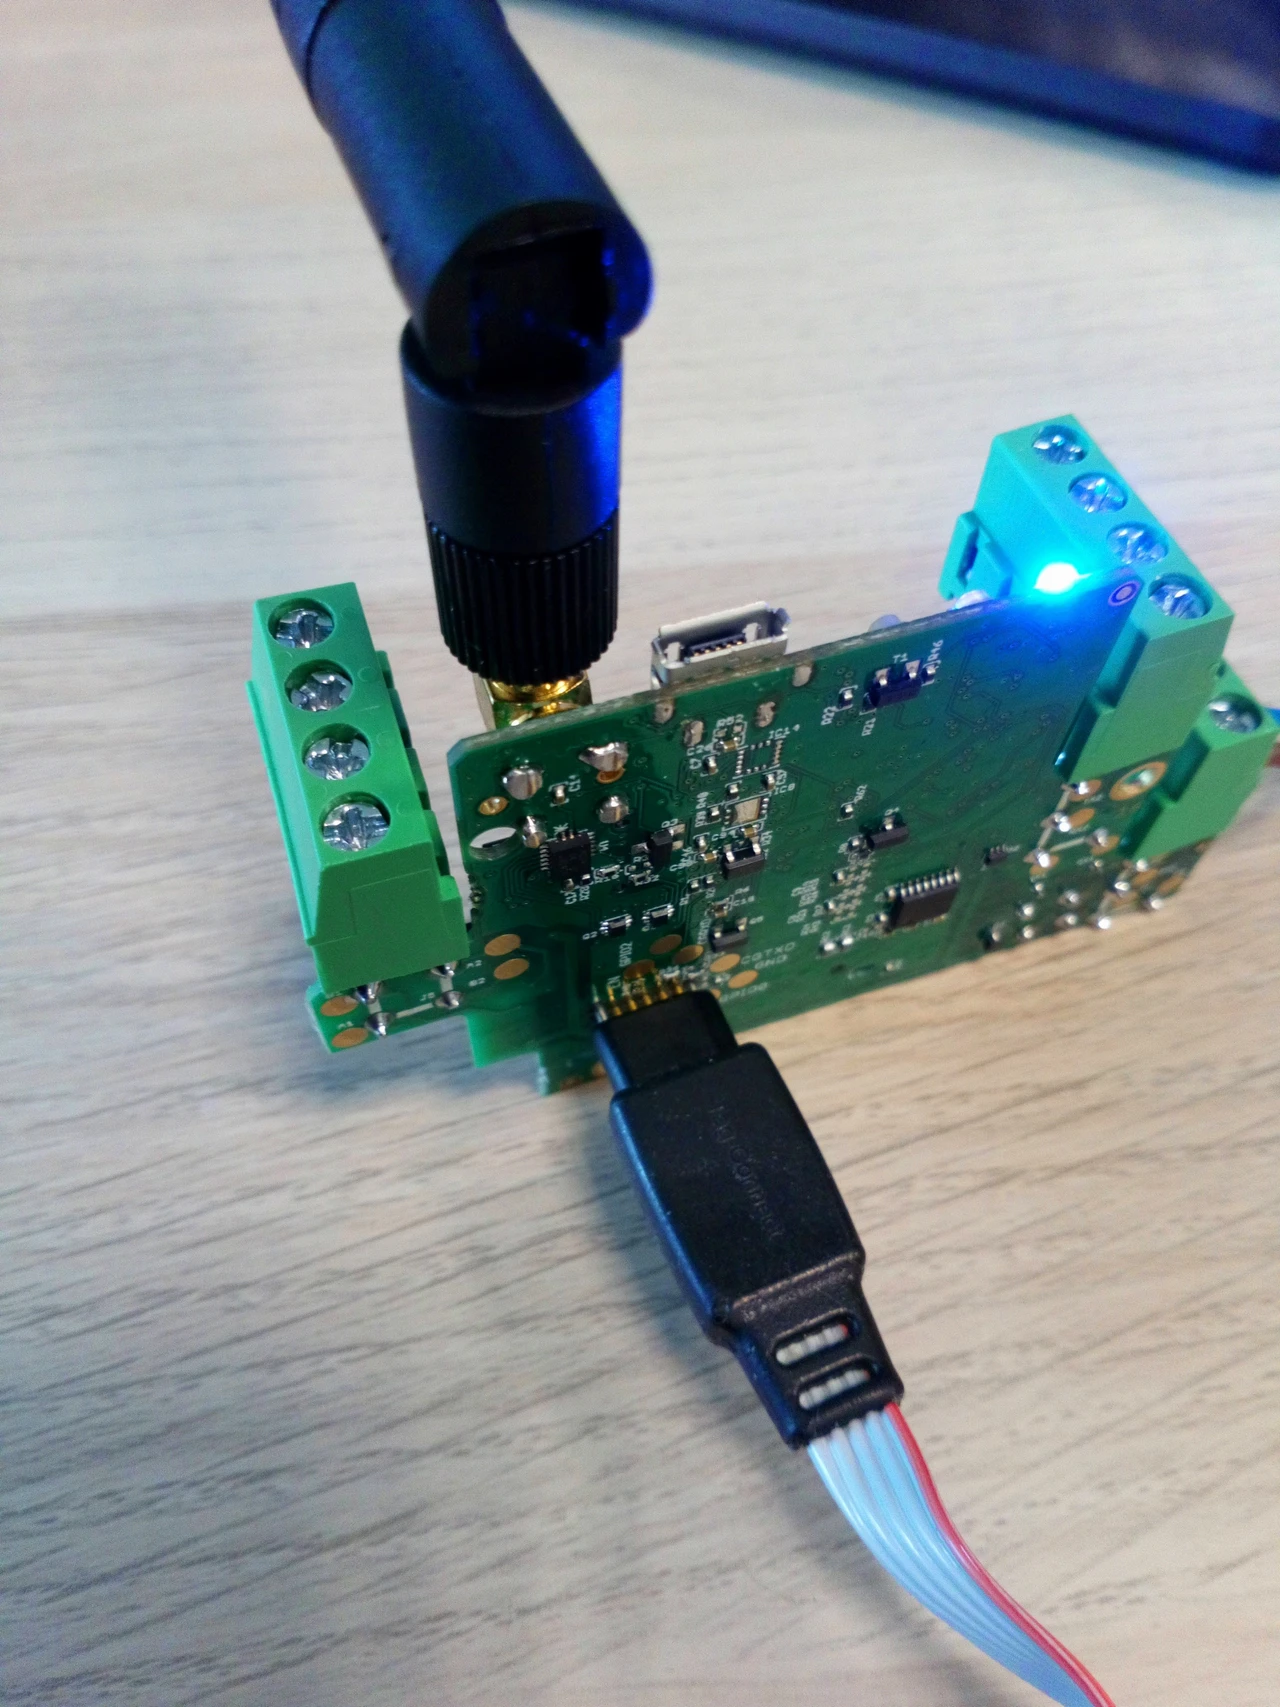
Connect the programmer
ESP32 IoT and IIoT Gateways can be programmed only with the external hardware programmer (for example P03) connected via the Tag-Connect connector. After connecting it to the board and a PC, a new COM port should be available.
 |
 |
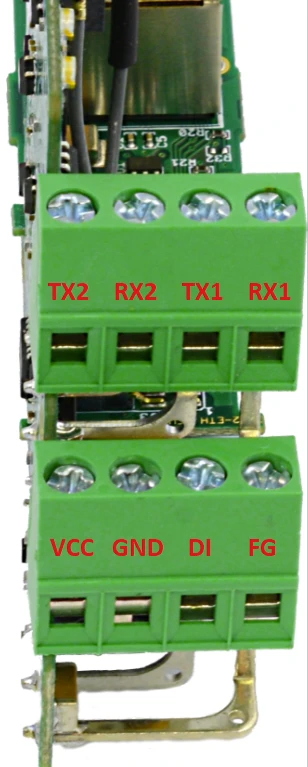
Connect the power supply
In order to successfully flash the device, it has to be connected to the power supply (9 - 30 VDC) using the VCC and GND connectors.
Create your own programs
After all of the above steps are done, the device should be ready to be programmed.
Build, flash and monitor the device
The following procedure is described for VS Code ESP-IDF extension.
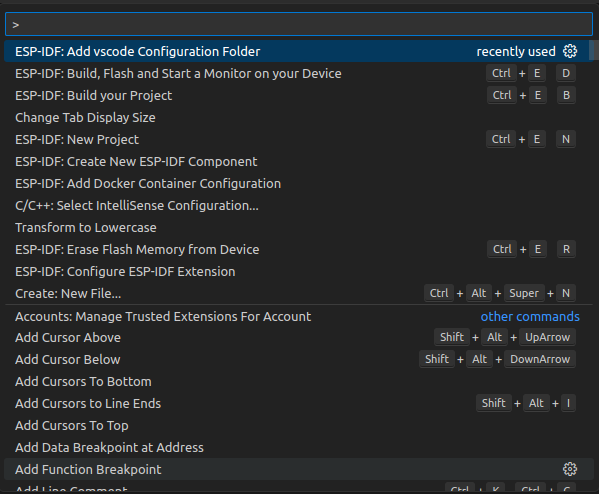
- Make sure that there is a ".vscode" folder in the project tree. If not, add it with the "F1" + "ESP-IDF: Add vscode Configuration Folder" command.

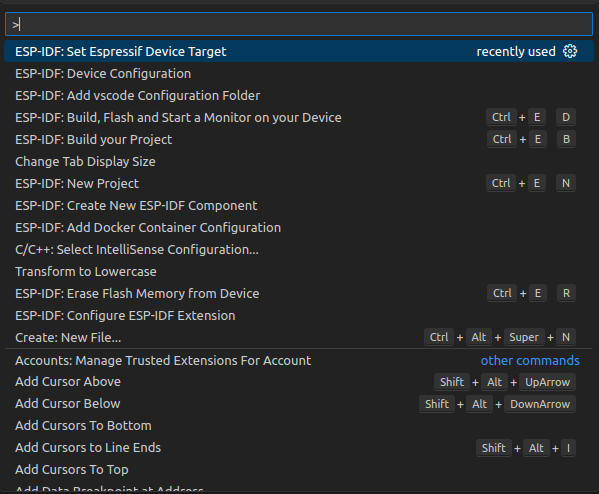
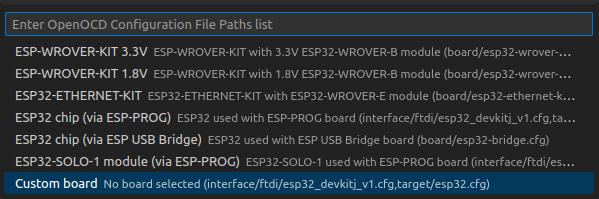
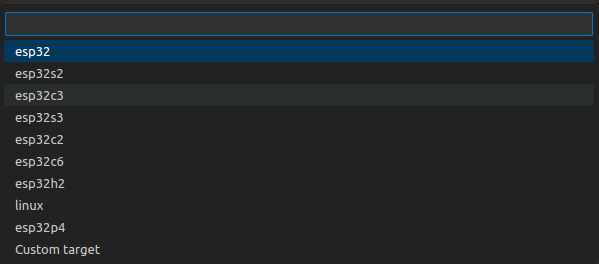
- Set your device target with "F1" + "ESP-IDF: Set Espressif Device Target". Then choose current workspace folder and then "esp32". Lastly choose "Custom board" and confirm it.


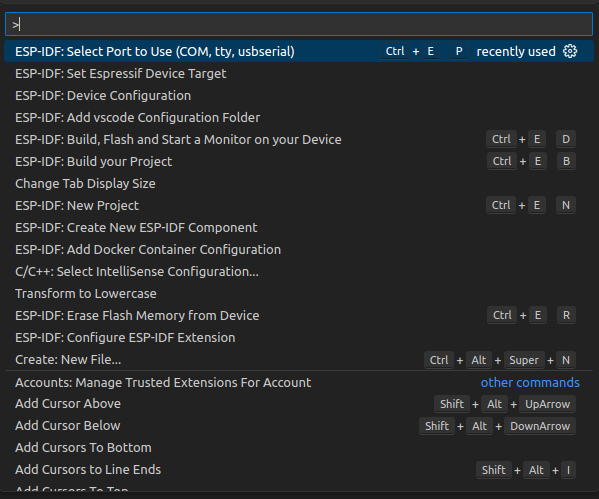
- Set port where the device is attached to with "F1" + "ESP-IDF: Select Port to Use (COM, tty, usbserial)".

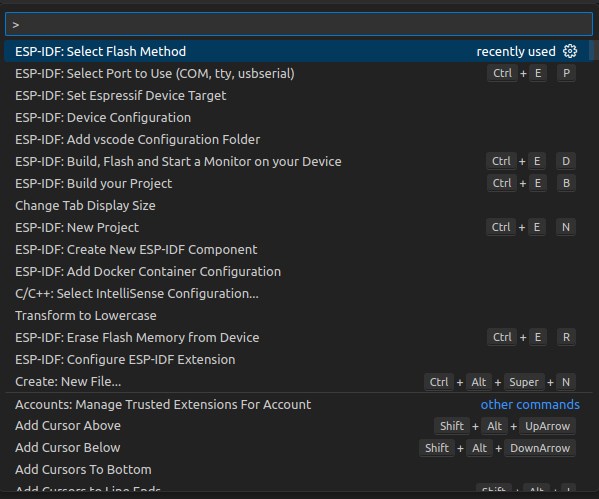
- Finally select "UART" flash method with "F1" + "ESP-IDF: Select Flash Method".


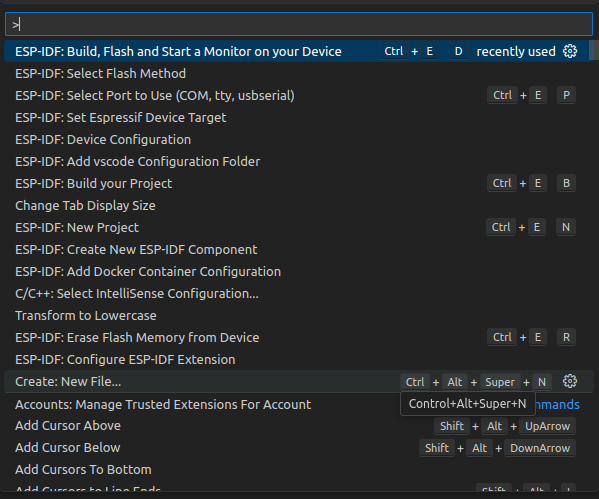
- Build your project, flash it to the device and open a serial monitor with the "F1" + "ESP-IDF: Build, Flash and Start a Monitor on your Device". If everything was set properly the serial monitor should open after a successful flash.