Get Started
ESP32 Open IoT and IIoT Gateways (P01 & P02)
At the beginning it is necessary to set up a development environment. Programming gateways are supported on every popular operating systems like Windows, Linux or MAC OS. This document was prepared in reference to Windows.
ESP-IDF framework
The main tool is ESP-IDF framework provided by Espressif. To get more information about installation, visit manufacturer’s
website: Get Started - ESP32 - — ESP-IDF Programming Guide latest documentation.
Manual Installation of ESP-IDF: Standard Setup of Toolchain for Windows - ESP32 - — ESP-IDF Programming Guide latest documentation.
During the ESP-IDF installation you might be asked for install Eclipse additionally.
After successful process it is necessary to add new enviroment variables.
Variables names:
- IDF_PATH - paste the path of the directory with ESP-IDF framework
- IDF_TOOLS_PATH - paste the path of the directory with ESP-IDF tools


Finally you can run ESP-IDF CMD and start to manage your project. There should be an icon on the desktop or easy access to ESP-IDF.
Create new project
idf.py create-project -p <name>
Build project
idf.py -p <port> build
Flash project
idf.py -p <port> flash
idf.py -p <port> flash monitor
Erase flash
esptool.py --port <port> erase_flash
MinGW
Download MinGW with GUI from MinGW - Minimalist GNU for Windows and install on your PC. After a successful installation run MinGW Installation Manager (GUI).
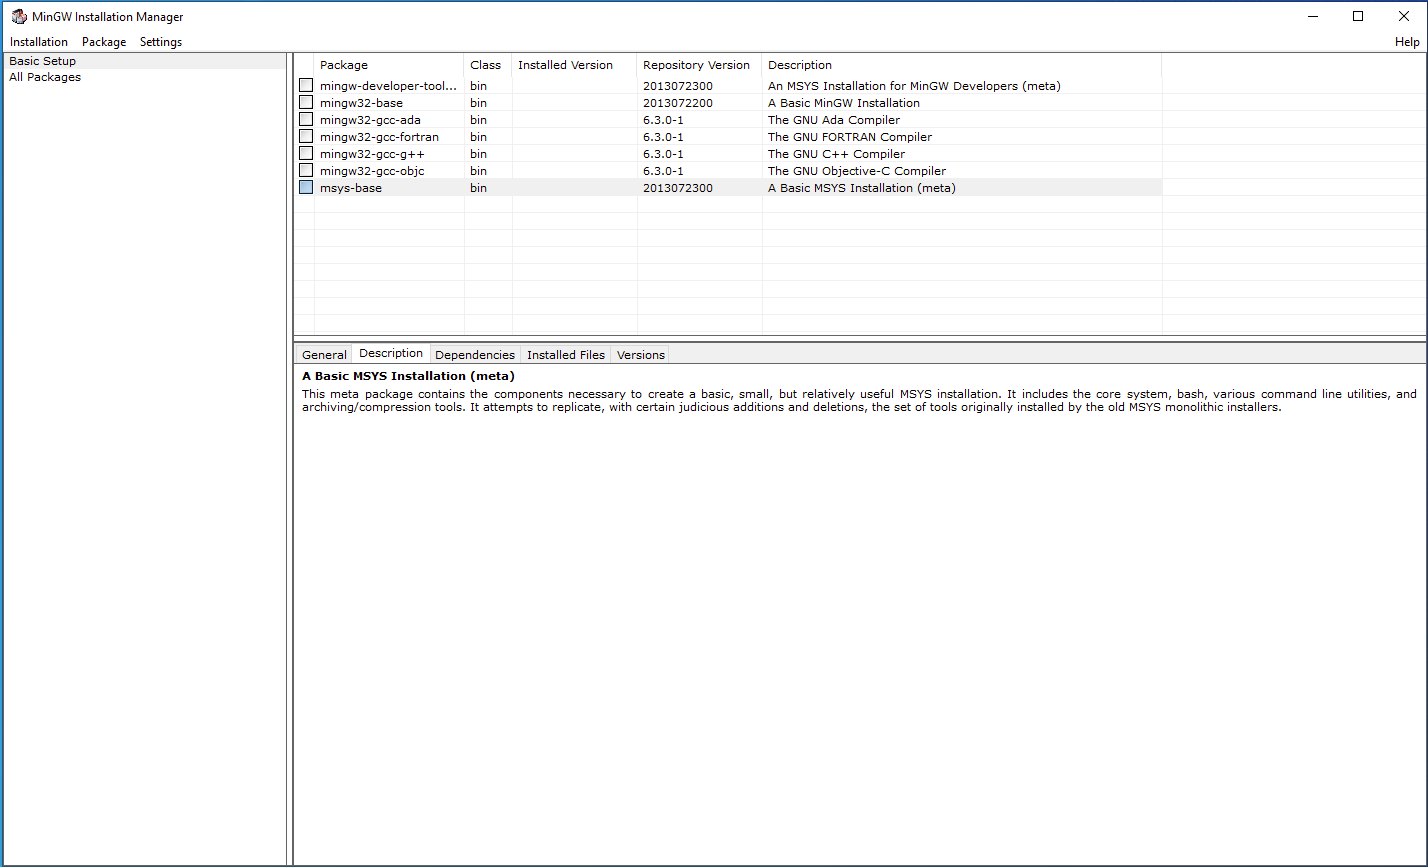
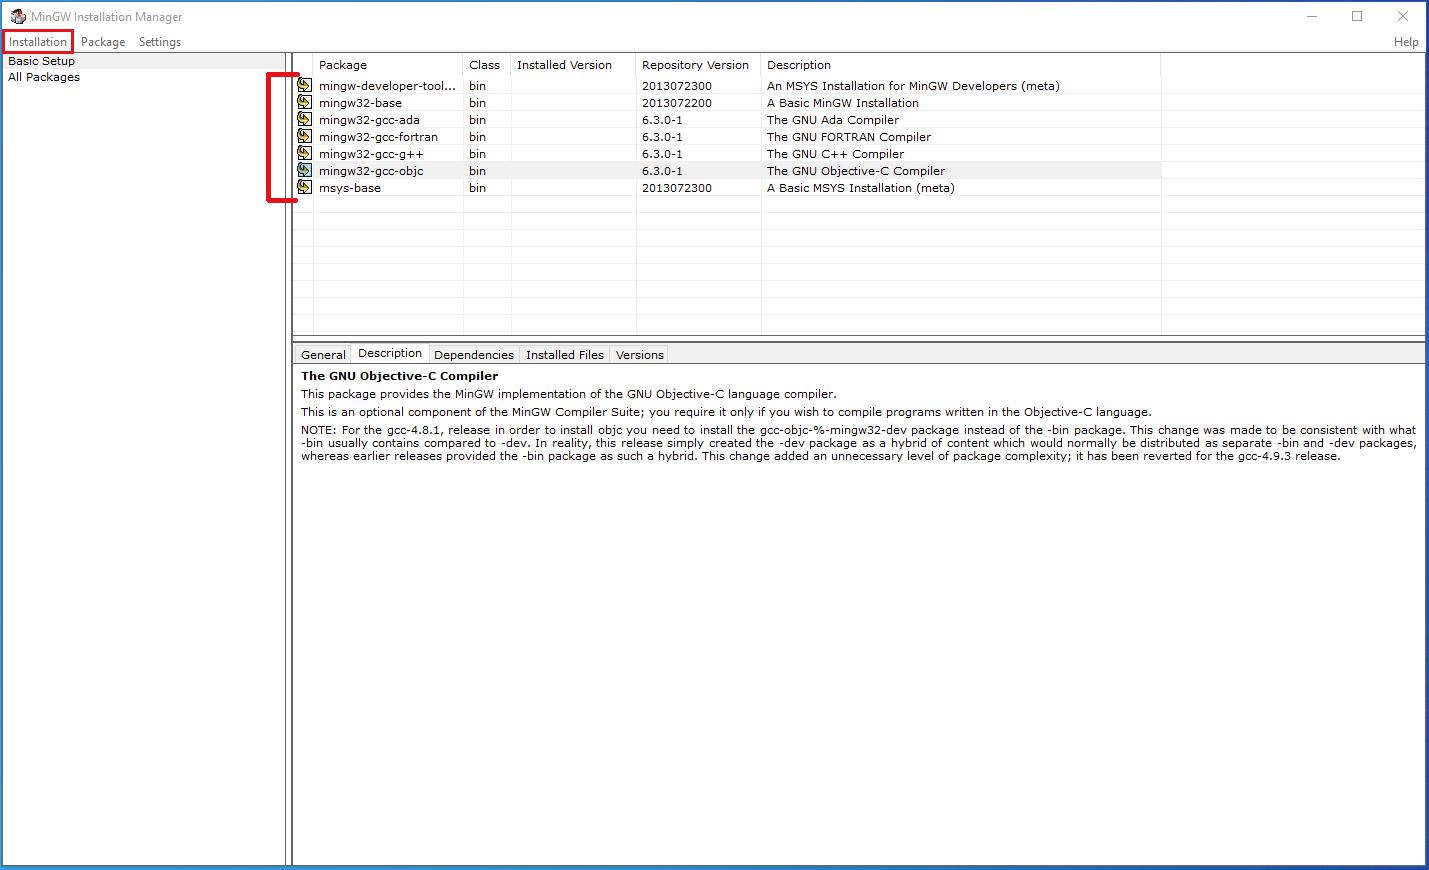
Now we need to install Basic Setup. Right click on every square fields in “Package” tab, then “Mark for Installation”. Next, in “Installation” tab click on “Apply Changes” and then “Apply”.
 |
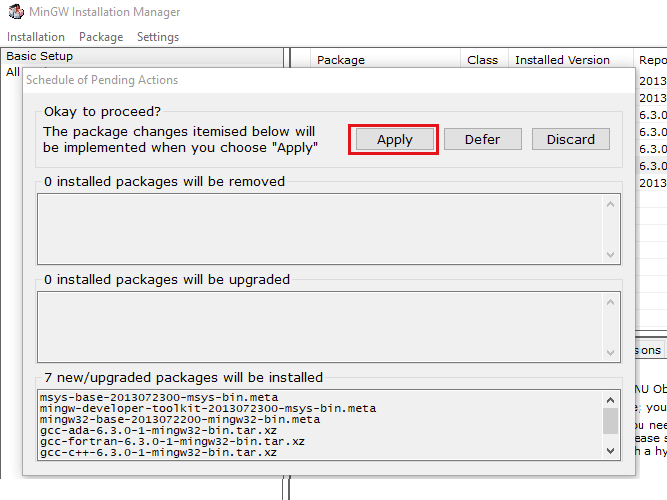 |
To check if the installation is successfull, open Command line and type:
gcc --version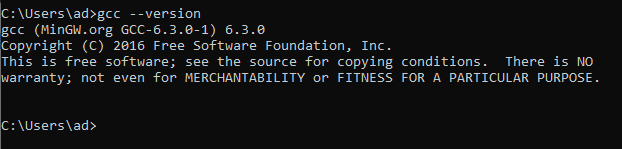
IDE
You can edit code in your preferred IDE as ESP-IDF is handling the final build and flash.
Recommanded IDEs:
Visual Studio Code
- Download the package with example projects for IoT Gateway.
- Select one of the demos and copy it to a new directory.
- Open Visual Studio Code and click on the extension tab.
- Install and configure C/C++ extensions.

- Open directory in VS Code.

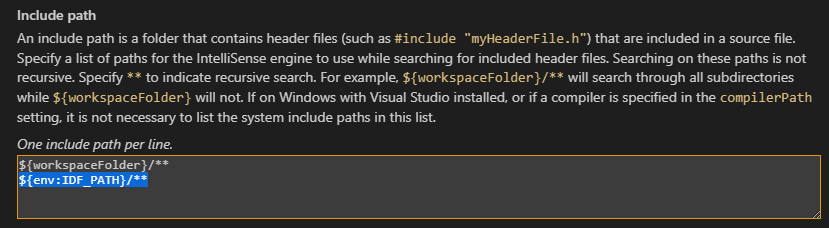
- If errors occur, edit “includePath” settings.
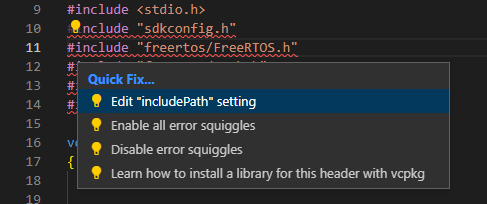
- Add the line "${env:IDF_PATH}/**".
-
Now code is ready to be modified.
-
To build or flash project, use ESP-IDF CMD.
Visual Studio Code provides an extension “Espressif IDF” which has some issues at this moment. However it is not essential for editing code.
CodeBlocks
- Download the package with example projects for IoT Gateway.
- Select one of the demos and copy it to a new directory.
- Run ESP-IDF CMD, set the path to your project and then generate project for CodeBlocks:
cmake -G "CodeBlocks - MinGW Makefiles"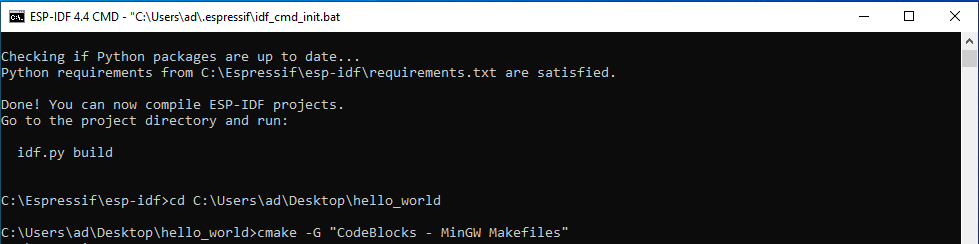

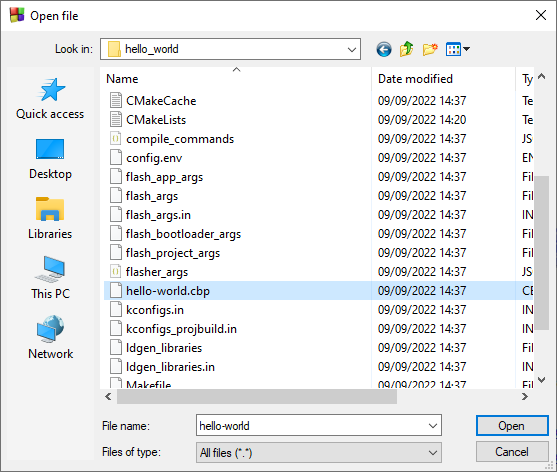
- Run CodeBlocks. Click on "File → Open…", find .cbp type file and click on “Open”.
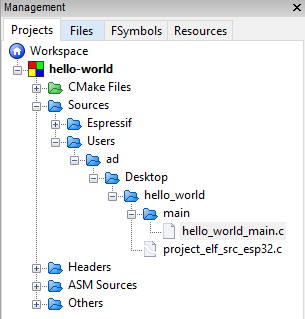
- After this, there should be a project tree available and code is ready to be modified.
-
To build or flash project, use ESP-IDF CMD.
Thonny IDE
- Download and install Python interpreter.
- Download the package with example projects for IoT Gateway.
- Select one of the demos and copy it to a new directory.
- Run ESP-IDF CMD, erase flash using:
esptool.py --port <COMX> erase_flash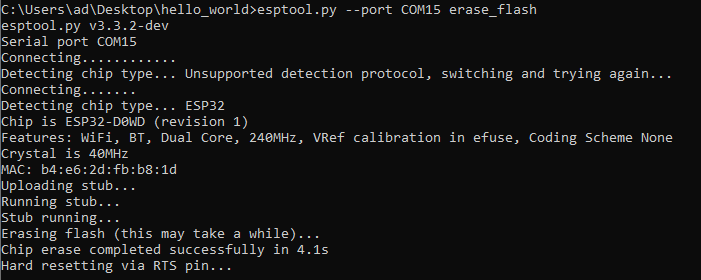
-
Download firmware which allows to run microPython.
-
Flash .bin file using:
esptool.py --port <COMX> write_flash -z 0x1000 <name_of_the_bin_file>
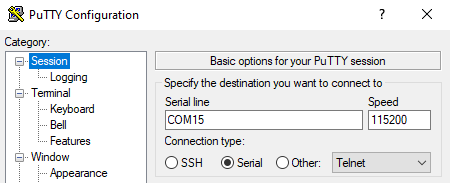
- Open serial port monitor like “Putty”, set COM port, baudrate, connection type to serial and click on “Open”.
-
Now you can run Python console on ESP32.

-
Download and install Thonny IDE.
-
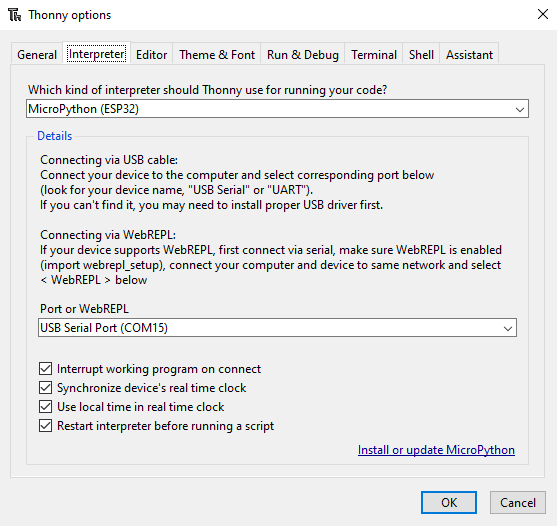
Click on "Tools → Options → Interpreter". In this tab you can choose an interpreter and COM port.
-
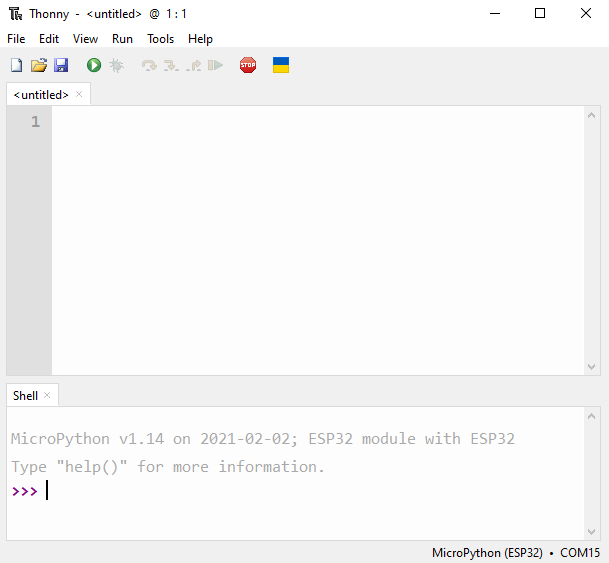
After all the process Thonny IDE is ready to work.
-
To flash the demo, open file in Thonny IDE. Next click on green button to run the current script.
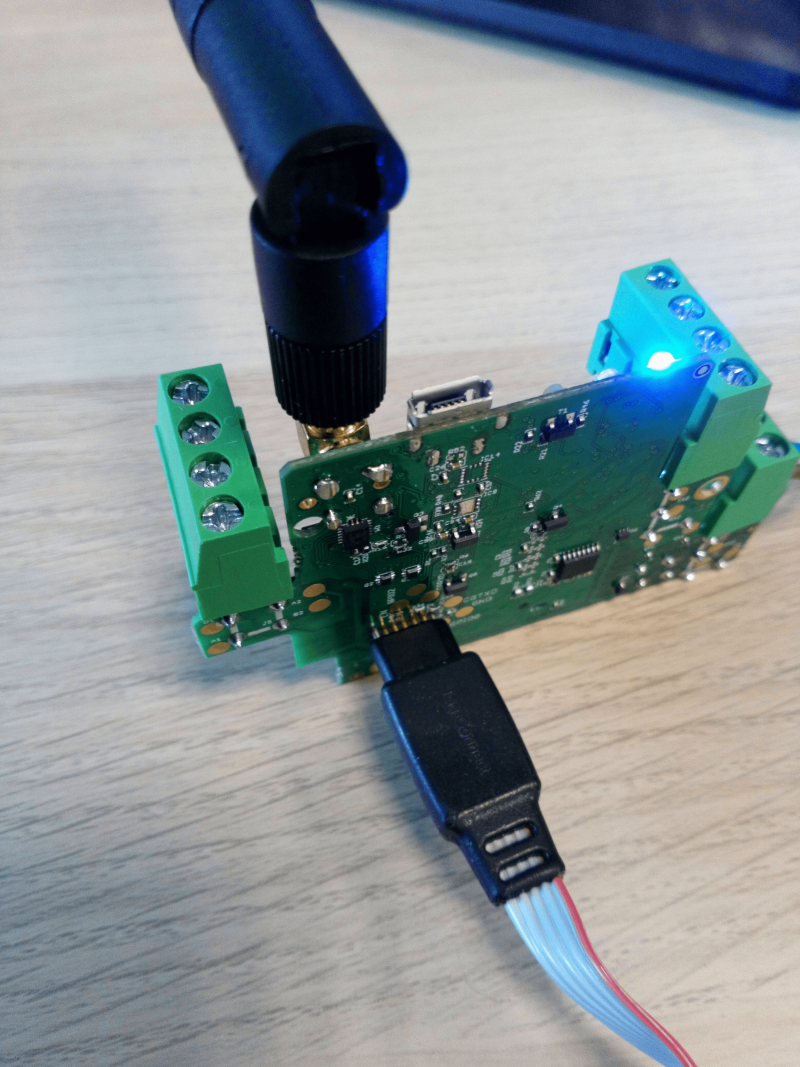
Uploading firmware
To upload firmware, you need to use external programmer with Tag-connect.